In addition to uploading new course files, the Course Import Wizard can also be used to upload updated course files to an existing course. When this process is used, the Wizard will automatically remove all of the previous course files for the selected course. To access the Course Import Wizard, go to Resources > Course Import Wizard in the Administrator's Console or click on the Add or Update a New Course icon in the Administrator's home page.
Note: If your system utilizes advanced resource permissions, only a company administrator or the course owner will be able to update an existing course.
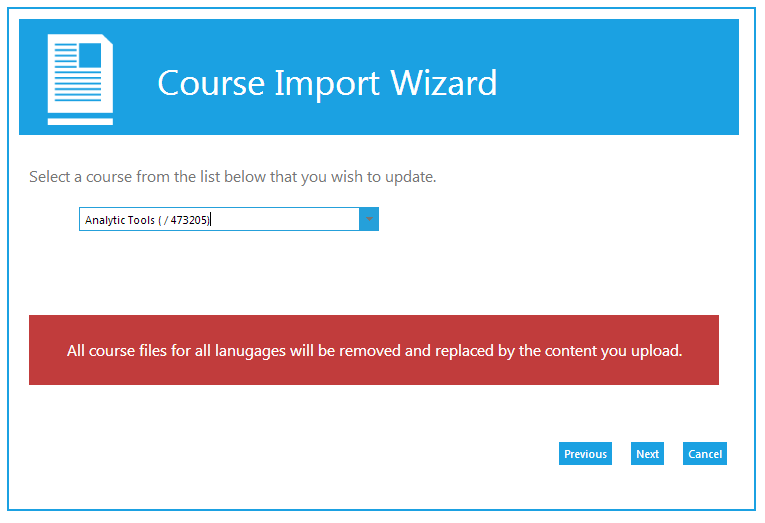
To update course files, go to the Import Courses Wizard, and select the option “Update content on an existing course.” Begin typing in the name of the course that is going to be updated into the "Select a course" window. Select the correct course when the title appears in the dropdown and click Next.
The LMS will warn you that all previous course files will be removed. Click OK to continue.
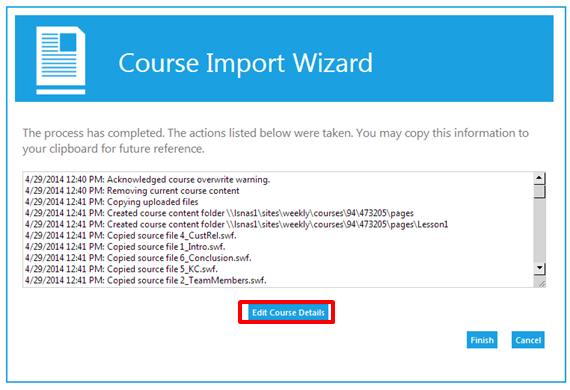
Upload the zip file containing the new course files when prompted by the wizard. Once the zip file has been successfully loaded, the LMS will confirm that the process has been completed. If you need to make additional edits to this course, click the Edit Course Details button to access the edit resource screen on Maintain Learning Resources.
If no additional changes need to be made, click Finish.
Import New AICC, SCORM, and xAPI Courses